 Save
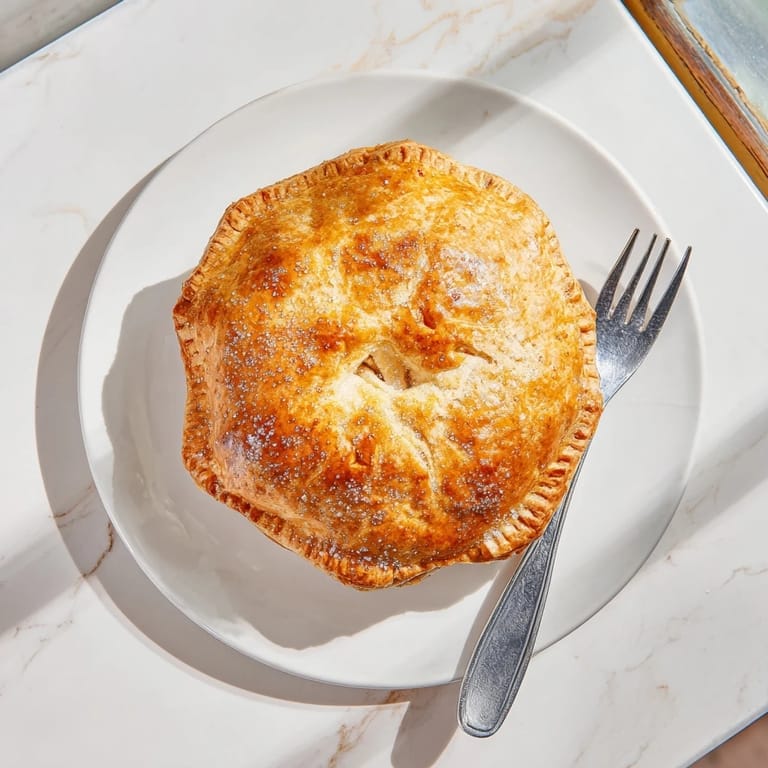
Save The kitchen was already filled with that unmistakable buttery aroma when my grandmother opened the oven door, revealing a golden-crusted masterpiece that had been bubbling away for nearly an hour. I was twelve years old, standing on a step stool to reach the counter, watching her dust the top with coarse sugar like she was sprinkling fairy dust. She told me the secret wasnt just the ingredients—it was keeping everything ice cold and not overthinking it. That afternoon changed everything I thought I knew about baking.
Last Thanksgiving, I decided to recreate grandmothers pie for my new in-laws, and I'll admit I was nervous. My hands were shaking as I rolled out the dough, certain I'd messed up the crimping along the edges. But when my father-in-law took that first bite, closed his eyes, and declared it better than his own mothers recipe, I knew Id done something right. Now it's the one dish everyone requests before they even RSVP.
Ingredients
- 2 1/2 cups all-purpose flour: The foundation of your crust—sift it first for the lightest, most tender texture
- 1 cup cold unsalted butter, cubed: Keep this ice cold and work quickly to create those flaky pockets we all love
- 6–8 tbsp ice water: Add this gradually, watching for the dough to just come together without becoming sticky
- 6–7 medium apples: A mix of Granny Smith and Honeycrisp gives you the perfect balance of tart and sweet
- 3/4 cup granulated sugar and 1/4 cup brown sugar: This combination caramelizes beautifully and creates that glossy filling
- 1 1/2 tsp cinnamon and 1/4 tsp nutmeg: Warm spices that make the whole house smell like autumn
- 1 egg and 1 tbsp milk: For that golden, professional-looking finish on your crust
Tired of Takeout? 🥡
Get 10 meals you can make faster than delivery arrives. Seriously.
One email. No spam. Unsubscribe anytime.
Instructions
- Make and Chill Your Crust:
- Whisk flour, salt, and sugar in a large bowl, then work in cold butter with a pastry blender until you see pea-sized chunks. Add ice water gradually, mixing just until the dough holds together when squeezed. Divide in half, form into disks, wrap tightly, and refrigerate for at least one hour—this rest time is non-negotiable for a flaky crust.
- Prep Your Apple Filling:
- Peel, core, and slice your apples into even 1/4-inch pieces so they cook uniformly. Toss them with both sugars, spices, flour, and lemon juice in a large bowl until every slice is coated. Let this sit for about 10 minutes while you roll out your dough—the apples will release some liquid, which helps prevent a soggy bottom crust.
- Assemble With Confidence:
- Roll out your first dough disk on a floured surface and gently drape it into your 9-inch pie dish, letting any excess hang over the edges. Pile in those spiced apples, mounding them slightly higher in the center since they'll shrink during baking. Dot the top with small pieces of cold butter before covering with your second crust.
- Seal and Vent:
- Trim the overhanging dough to about an inch, then fold the top crust under the bottom edge and crimp them together with your fingers or a fork. Cut several decorative slits in the top crust—this isn't just for looks, it's essential for steam to escape as the apples release their juices.
- Bake to Golden Perfection:
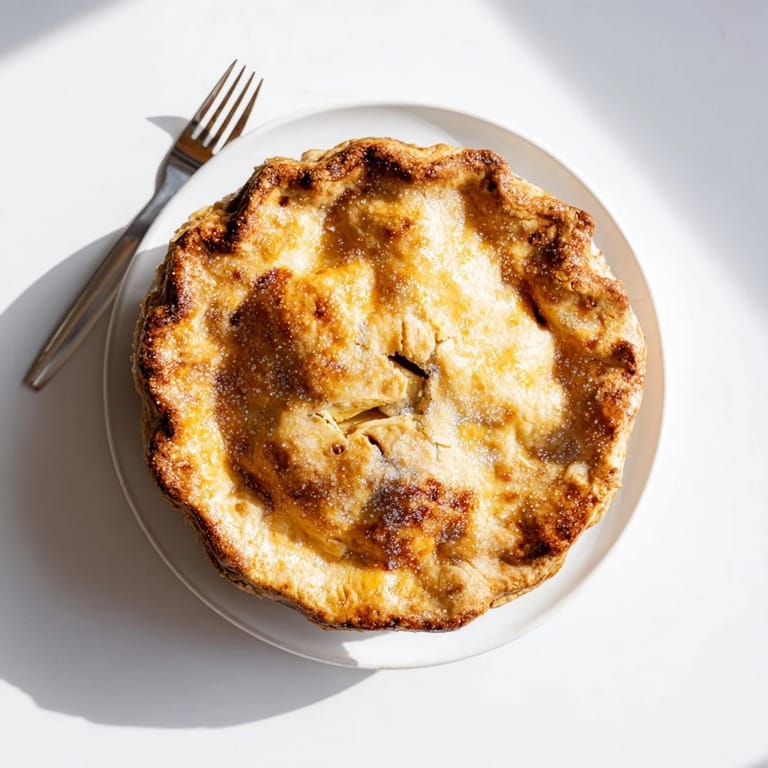
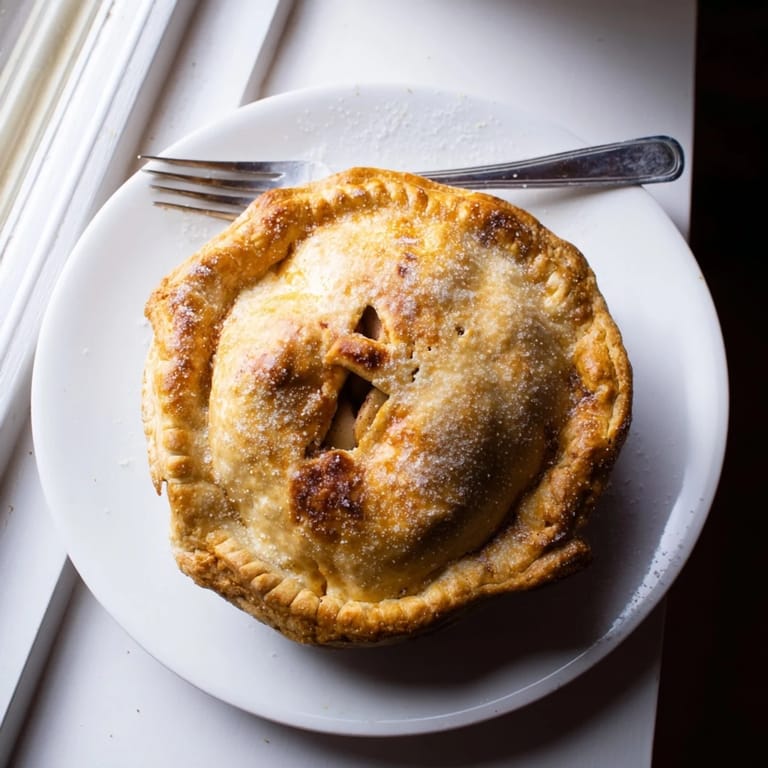
- Brush the entire top with your egg wash and sprinkle with coarse sugar for that bakery sparkle. Bake on the lower rack at 400°F for 45–55 minutes, checking after 30 minutes—if the edges are getting too dark, tent them loosely with foil. The pie is done when the crust is deeply golden and you can see the filling bubbling vigorously through those vents.
- The Hardest Part—Waiting:
- Let the pie cool on a wire rack for at least two hours before slicing. I know it's torture when that cinnamon smell is wafting through your kitchen, but cutting too early will give you a runny filling instead of those beautiful, juicy layers we're after.
 Save
Save There's something almost meditative about peeling and slicing apples by hand, watching the pile grow on the cutting board while the kitchen fills with that fresh, crisp scent. My daughter now pulls her step stool up to the counter to help, and I find myself echoing my grandmother's words about cold butter and patience. The torch has been passed, and the tradition continues, one flour-dusted apron at a time.
Getting That Perfect Crust Texture
The difference between an okay pie crust and an extraordinary one comes down to temperature and restraint. Keep your butter frozen until the moment you need it, and work quickly so it doesn't melt into the flour. Those visible bits of butter in your dough are exactly what create the flaky layers as they steam in the oven. Don't be tempted to add more water than necessary—slightly shaggy dough bakes up better than sticky, overworked dough.
Apple Selection Secrets
Not all apples are created equal when it comes to baking. Granny Smiths hold their shape and provide tartness, while Honeycrisps break down slightly to create that luscious sauce between the slices. I've learned through trial and error that using only one variety gives you a one-dimensional filling. The real magic happens when you combine at least two or three different types that complement each other.
Serving and Storage Wisdom
A room temperature pie shows off its flavors better than one straight from the fridge, but gently reheating individual slices brings back that fresh-baked magic. I've discovered that covering the cut edges with aluminum foil helps prevent the exposed crust from getting stale if you're keeping it on the counter for a day or two. And yes, it's absolutely acceptable to eat pie for breakfast—I won't tell.
- Wrap any leftover pie loosely in foil or plastic; it keeps beautifully at room temperature for up to two days
- For longer storage, cover tightly and refrigerate, then bring slices to room temperature or warm briefly before serving
- This pie freezes exceptionally well baked—cool completely, wrap tightly in plastic and foil, and freeze for up to three months
 Save
Save Whether it's your first time making pie or your fiftieth, remember that the most important ingredient is the love you pour into it. Happy baking, and may your crust always be flaky.
Recipe Questions & Answers
- → What type of apples work best?
A mix of Granny Smith and Honeycrisp apples provides the perfect balance of tartness and sweetness. The Granny Smith holds its shape during baking while Honeycrisp adds natural sweetness.
- → Why must the dough be chilled?
Chilling the dough for at least an hour allows the gluten to relax and the butter to firm up. This ensures a flaky, tender crust that doesn't shrink during baking.
- → Can I make this ahead of time?
Absolutely. The dough can be made up to 2 days in advance and kept refrigerated. You can also assemble the entire pie and freeze it unbaked for up to 3 months.
- → How do I prevent a soggy bottom crust?
Bake on the lower rack of your oven to ensure the bottom crust cooks through. Also, letting the pie cool for the full 2 hours allows the filling to set properly.
- → What's the purpose of the flour in the filling?
The flour acts as a thickener, absorbing excess liquid released by the apples during baking. This creates that perfect pie consistency rather than a watery filling.
- → Can I use a lattice top instead?
Yes! Instead of placing the full second dough disk over the filling, cut it into strips and weave them in a lattice pattern. This creates a beautiful presentation and allows more steam to escape.